Defiance Bait Tank Installation Leave a reply
After his Seattle Boat Show tuna seminar, Defiance Marine Pro-staffer Tommy “Cornfed” Donlin stuck his big ‘ol head into my boat which was on display at the show.
“Where are you gonna put your live bait Nelly?”
“How about this transom fishbox? I should be able to make it flow…”
Cornfed shook his head “You put anchovies in that square box and they’re gonna die before you get to the grounds. You’ve got to have a circular flow to keep them swimming, healthy and the tank has to be round so they can’t hit corners and injure themselves.”
Donlin is a well-known pain in the neck but I knew he was right and heck, there are a number of reasons beyond live anchovy fishing for tuna to install a live well. Shrimping, crabbing, live bait fishing for lingcod and even halibut are great reasons to install a tank. Also, let’s not forget the prospect of jigging herring and putting up your own trays of bait or even fishing them fresh!
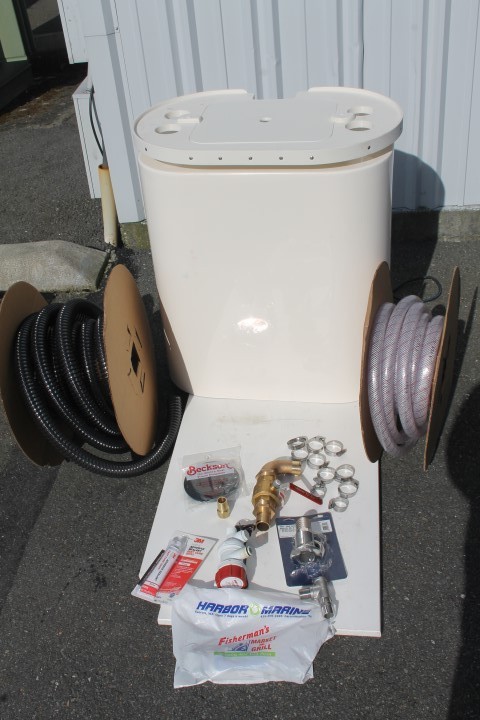
Defiance Marine’s DNA is saturated with blue water angling and a quality bait tank is as vital to the tuna fisherman as the downrigger is to the salmon angler. Fortunately, Defiance is recognized as the finest bait tank available and not all that hard for the do-it-yourselfer to install!
First off you’ll need to get organized and get your parts list together including a sheet of one-inch Starboard for the mount. Tank water supply is 1″ and required an 1500GPH livewell pump. The drain is 1 1/2″ and you’ll need a shutoff or seacock valve. Thanks to Harbor Marine at the Port of Everett, it’s a one-stop shop!
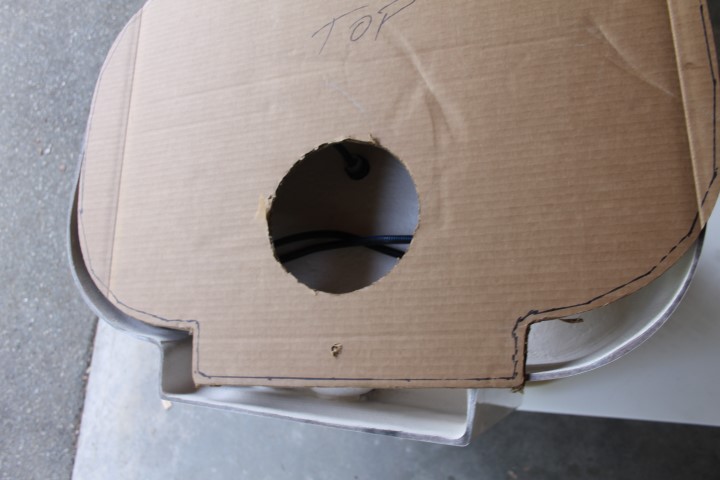
This is the very definition of a “measure twice, cut once” project and it’s vital to make a cardboard template of the tank footprint for an accurate installation.

Once you’ve got your template, lay it on the deck in your desired location and take a good look around, above and most importantly, UNDER the location!
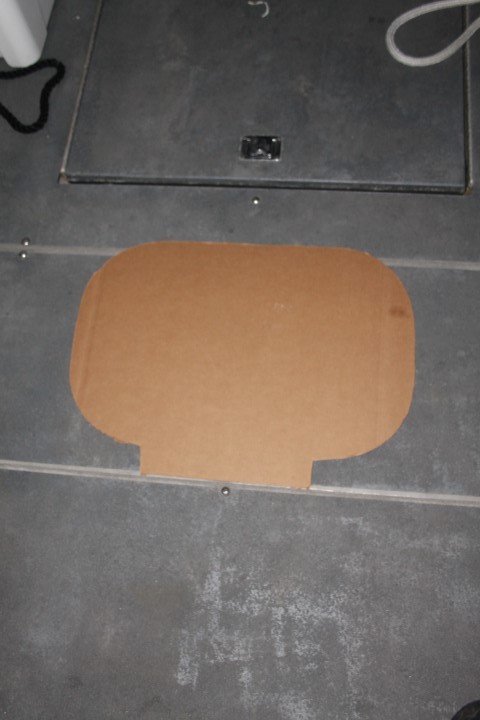
The best way to look under your chosen location is to pull up the deck floor which, you’ll have to do anyway to run the electrical and plumbing. On my Weldcraft, I had to plan around a deck support but that will add to the strength of the mount.
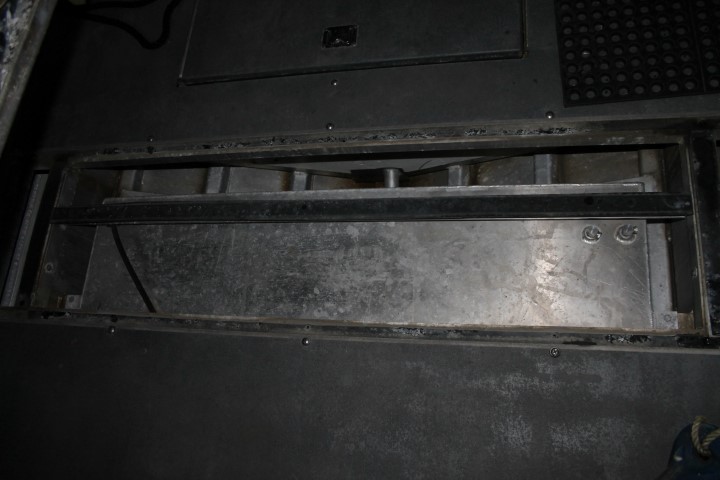
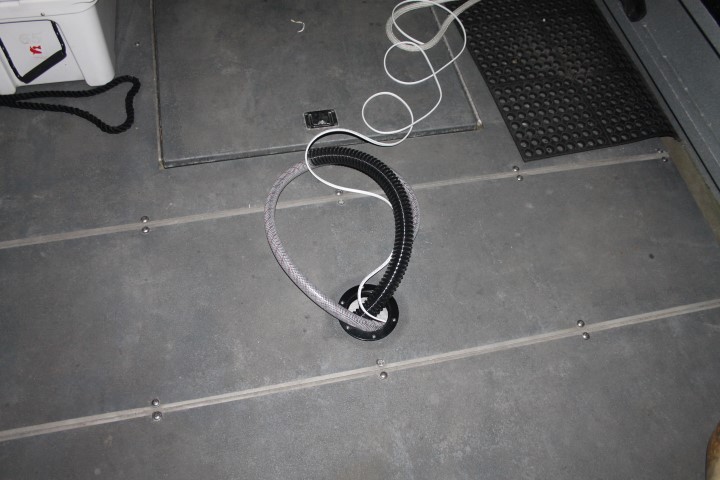
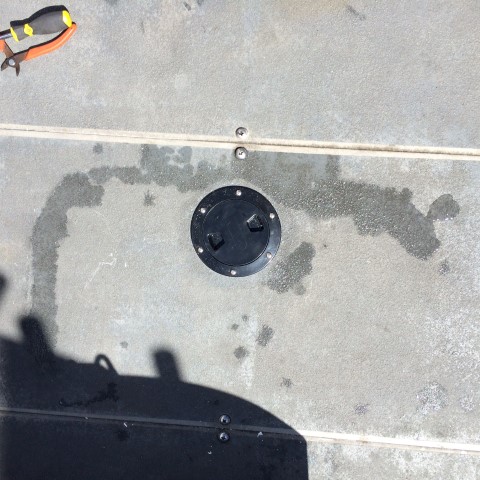
With the deck floor section out of the boat, it’s template time and a jigsaw drill to position the deck plate that will allow access for the plumbing to the tank.
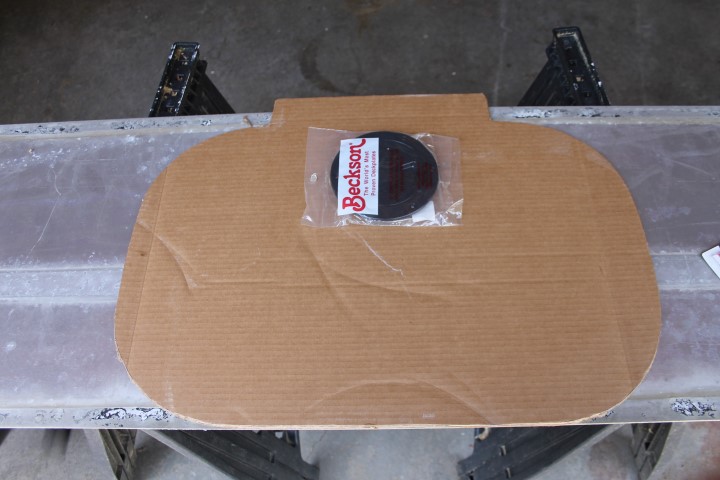
With the hole cut in the template and the deck floor, we need to trim the template to now fit INSIDE the tank as that’s how it’s going to mount to your deck.
Lay the template on the Starboard and start making a whole pile of white plastic dust! Make sure you’ve got a fairly accurate fit to the inside of the tank bottom!
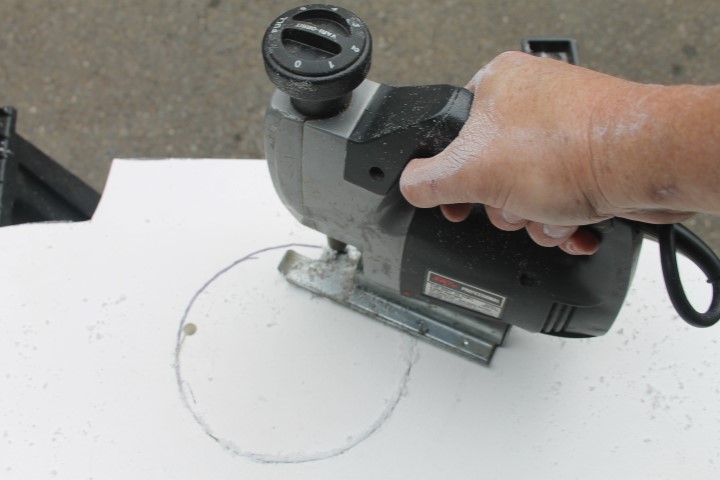
Once you’ve cut the Starboard to fit, it’s time to drill and tap 1/4″ x 20 (threads per inch) hardware into the perimeter of the tank. Four or five will do the trick!
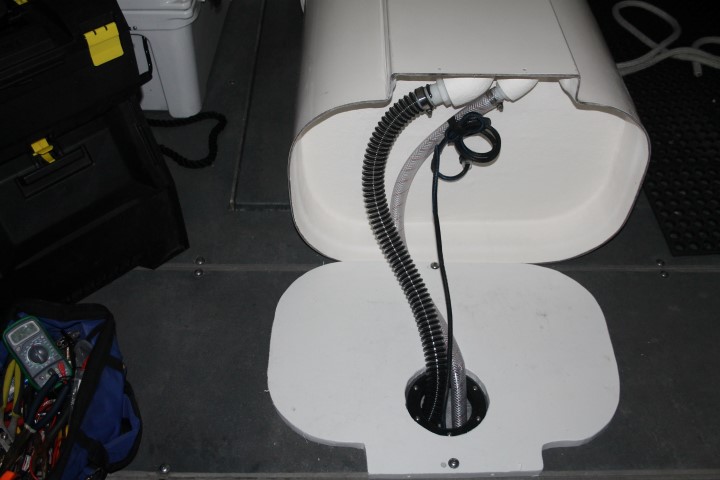
Time to take all your work back to the boat, cut that nice 1 1/2″ drain hole above the waterline, finish it with a SS hose barb through hull. Add the livewell pump to your water pickup, run the hoses forward and through the deck plate.
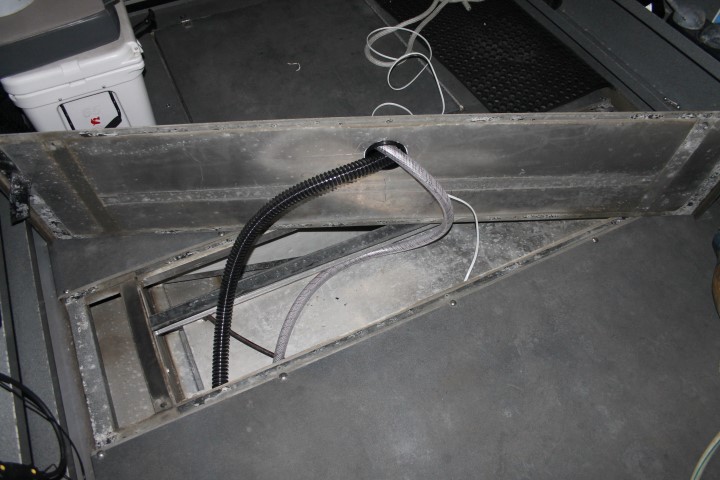
Being careful not to kink the hoses, lay the floor plate back down and fasten it back in place.
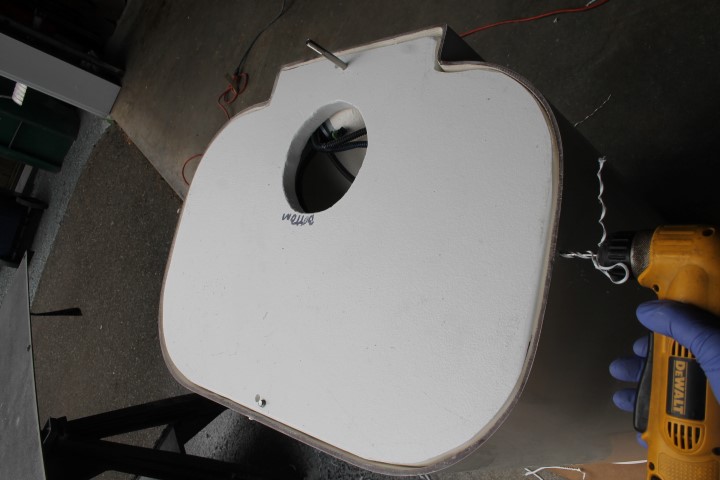
To lay flat on the deck, the Starboard mounting board’s center hole has to be larger than the mount ring of the deck plate. Use the existing deck floor bolt pattern to hold down the deck plate and you’ll have to get one-inch longer hardware to reach!

Lay the tank down to make the plumbing & electrical connections and you’re almost there! Again, take care that excess hose does not kink!
Stand the tank up, pop in your perimeter hardware and launch the boat! Test the system for leaks and you now have a 50 gallon bait tank installed!!!
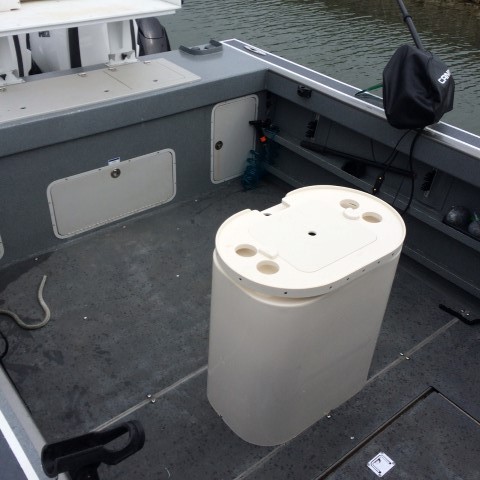
Removing the tank takes all of five minutes and the only way you’ll know it was there is the plastic deck plate and a wet ring where the tank was…
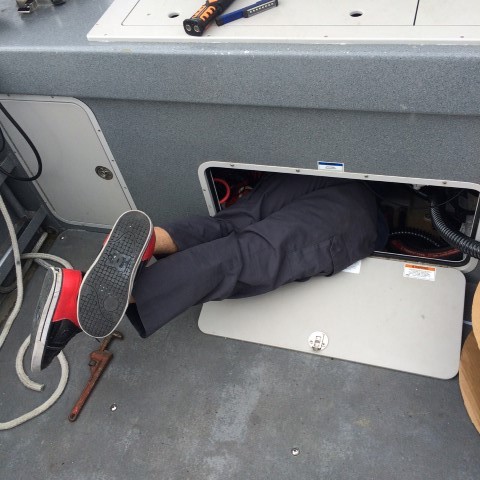
I didn’t go into great detail on the transom plumbing aspect because each boat is different and let’s just say that climbing into the transom was not pretty…
This summer with all the North of Falcon “noise” going on, we’re going to have to be a bit more versatile to get our days on the water. My Defiance Marine bait tank is a HUGE step in that direction!
Give them a call and whatever you do, DON”T tell them TOMMY DONLIN sent you!!!
Tom Nelson
The Outdoor Line
710 ESPN Seattle
www.theoutdoorline.com